How Hardwood Floor Cleaning Works
The entire method comes down to one constraint: how much water is on your floor, and for how long. Everything else follows from that.
Why moisture control is the whole service
Wood is hygroscopic. It absorbs water from its surroundings and swells, releases it and shrinks, and does this continuously with the seasons. A finished floor slows that exchange down but doesn’t stop it, and the places where it barely slows it at all are the seams between boards and the end joints, where the finish is thinnest or absent entirely.
So when liquid sits on a wood floor, it finds those seams. Water that reaches the sides and bottom of a board swells that edge more than the face, and the board rises at the edges into the shape people call cupping. On engineered flooring the same water reaches an adhesive layer and can debond the veneer from its core, which is worse because a bond that fails doesn’t reform when things dry out.
That’s why the number that matters isn’t how strong the cleaner is, it’s how long the floor stays wet. Our equipment applies solution and recovers it in the same pass, so contact time is measured in seconds. A mop and bucket leaves a floor wet for several minutes and leaves the dirtiest water in the lowest places, which happen to be the seams.
The six steps
- 1
Identify the floor before touching it
Solid, engineered, or bamboo, and how thick the wear layer is if we can tell. This decides how much agitation is safe, because a 0.6mm veneer has no margin for aggressive mechanical action and a three-quarter-inch oak plank has plenty. We also check whether the existing finish is intact, since that determines whether this is our job at all.
- 2
Dry removal first
Loose grit comes off before any liquid goes down. This step looks trivial and isn't. Grit is silica, harder than any floor finish, and wet-cleaning over it grinds it into the coating under pressure. Skipping this is the single most common way a well-intentioned cleaning damages a floor.
- 3
Apply a metered amount of solution
The solution is matched to the finish and to the material underneath, and pH-neutral by default. The machine puts down a measured quantity, not a poured one. This is the difference between cleaning wood and mopping wood, and it's the whole reason the process is safe on floors that can't tolerate standing water.
- 4
Agitate to dissolve the film
The accumulated layer of dried cleaning product, soap residue, and airborne kitchen oil needs both chemistry and mechanical action to break loose. Dwell time does most of the work on delicate floors, and agitation does more on solid wood with a thick finish. What's happening either way is dissolution, not abrasion.
- 5
Recover in the same pass
Everything that went down comes back up, along with everything it dissolved, into a separate recovery tank. Nothing gets re-spread the way it does with a mop and bucket, and nothing is left to find its way into a board seam. The floor is only damp for a few seconds.
- 6
Apply the water-based protective coat
A thin maintenance layer goes over the existing finish. It evens out sheen across boards that wore at different rates, and it becomes the surface that takes daily abrasion. Grit wears the coat instead of wearing the finish, and the coat is replaceable while the finish effectively isn't.
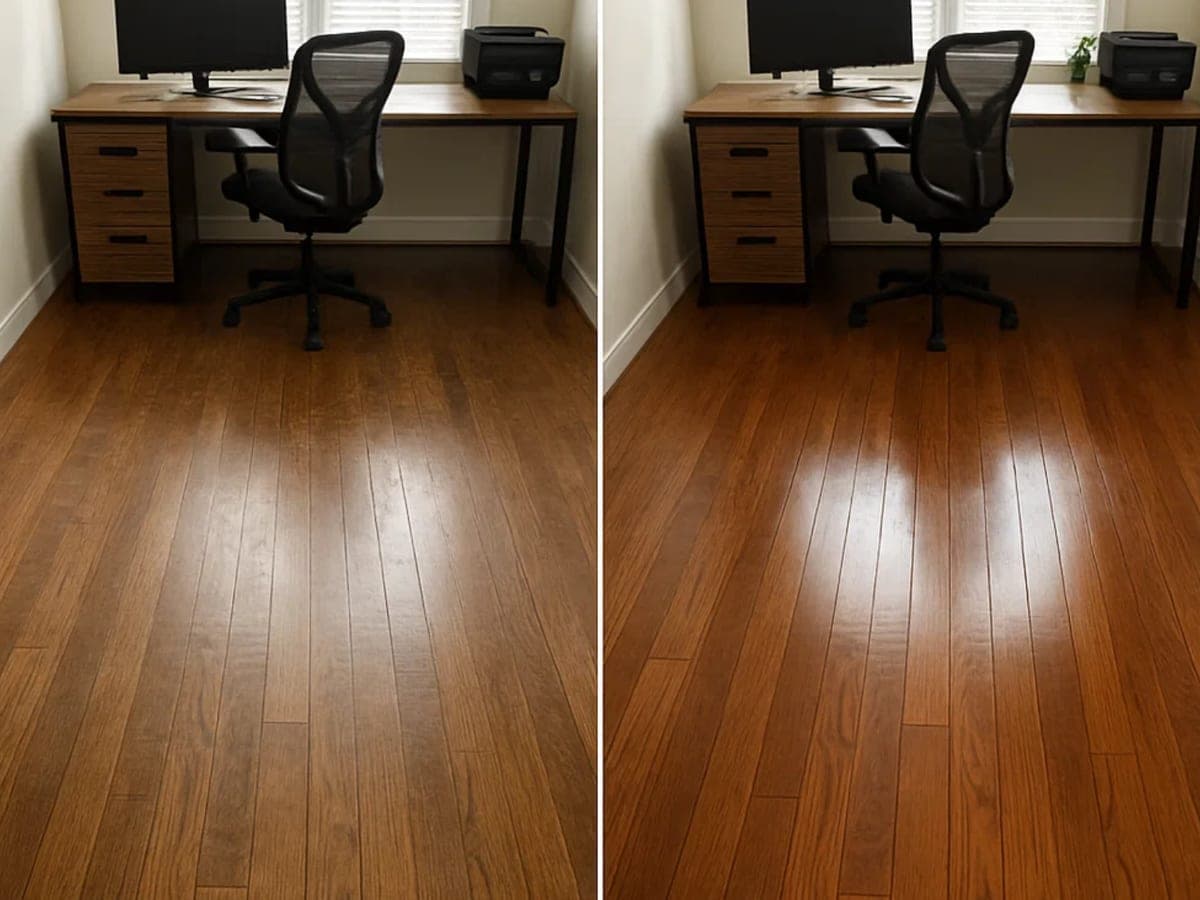
What comes off is the film. What’s underneath was there the whole time.
What the protective coat is, and isn’t
It’s a water-based maintenance layer applied over your existing finish. Its job is to be the thing that wears out. Every grain of grit that comes through your front door is going to abrade something, and the choice is whether that something is a coat we can reapply in a couple of hours or the factory finish that can only be replaced by sanding the floor to bare wood.
It is not polyurethane, it is not a refinish, and it is not a repair. It won’t fill a gouge, it won’t hide a black stain, and applying it over wood where the finish has already worn through produces something that looks acceptable for a few months and worse after that. On floors that can never be sanded, like thin-veneer engineered and most strand-woven bamboo, this coat is the only maintenance strategy available, which is why we weight it more heavily on those.
What this process can’t do
We don’t sand, refinish, re-stain, or screen-and-recoat with polyurethane. We can’t remove scratches deep enough to catch a fingernail, black staining from pet urine or standing water, or the color difference from a floor that’s faded unevenly under sunlight. We can’t flatten cupped boards or reattach a delaminated engineered veneer.
If your floor needs any of that, we’ll tell you at the walkthrough and send you toward the right trade. The clean versus refinish page walks through three tests you can run yourself in about ten minutes to work out which one you need before anyone quotes you anything. Every job we do take is backed by our 100% satisfaction guarantee.
See the grain you paid for
Enter your zip code to reach your local Safe-Dry® team. We clean and protect hardwood across 532 locations in 6 states, with same-day appointments in most areas.