Neglected wood floors are usually fine. They're dusty, they need attention, and they clean up without much drama. The floors that are genuinely in trouble almost always belong to someone who has been working hard on them for years with the wrong tools.
That's the uncomfortable pattern in this trade. Effort applied in the wrong direction does more damage to a wood floor than indifference does. Here are the seven versions of it we see most.
1. Damp-mopping before sweeping
This is the biggest one and the least dramatic-sounding. Most of what comes into a house on shoes is mineral. Sand, road grit, crushed rock off a driveway. Silica is substantially harder than any floor finish made.
Run a wet mop over a floor with loose grit on it and you've made a slurry of abrasive particles and dragged it across the finish under pressure. That's wet sanding. Same mechanism people use to polish stone, except your floor finish is the workpiece. Every wet pass that happens before dry removal takes a little finish off.
Instead: sweep or vacuum first, every time, no exceptions. Use a hard-floor setting or a bare-floor attachment so a rotating beater bar isn't flinging the grit around.
2. Steam mopping
Steam mops are excellent on tile and a genuinely bad idea on wood. They force hot vapor into the surface under pressure, and wood floors have a built-in path for that vapor to travel: the seams between boards, where the finish is thinnest or absent.
On solid wood the result is gradual, showing up as cupped board edges months later. On engineered flooring it's worse, because the vapor reaches the adhesive holding the veneer to the core, and a bond that fails doesn't come back when things dry out. Most steam mop manuals warn about this. Almost nobody reads them.
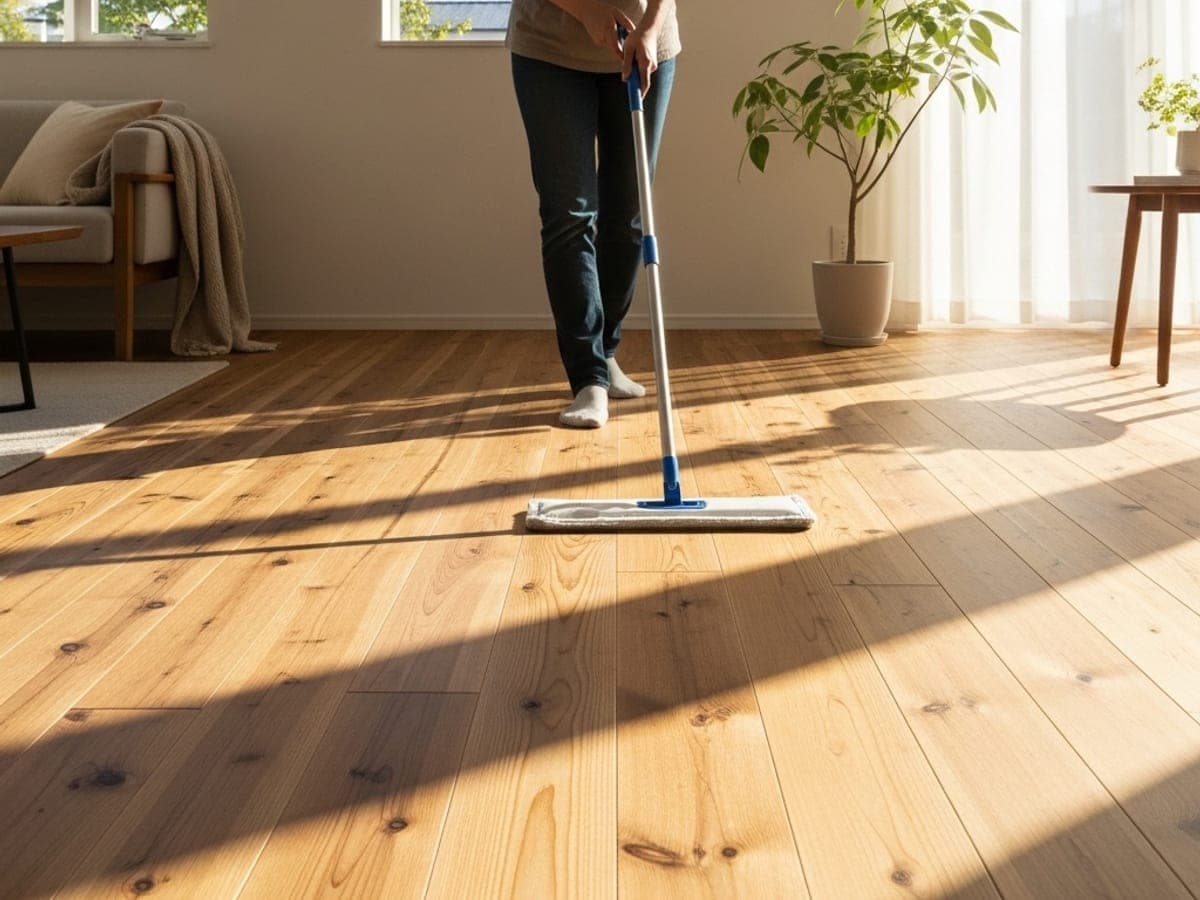
Instead: a barely damp microfiber and a pH-neutral hardwood cleaner. If the mop head drips when you lift it, it's too wet.
3. Vinegar and water
The internet loves this one and it has two problems. It's a dilute acid, and repeated acid exposure over years degrades wood floor finishes, dulling them permanently. It's also too weak to dissolve the polymer residue most floors are actually carrying, so it re-wets the top of it and leaves streaks as it dries.
The result is a floor that looks briefly better wet and slightly worse dry, which is the same pattern that made people reach for it in the first place.
Instead: a cleaner labeled pH-neutral and made for wood floors, at the dilution printed on the bottle.
4. Overdosing the cleaner
Concentrates look insignificant at the correct dose. A capful in a bucket feels like nothing, so people pour a glug instead. At the right dilution the surfactants lift soil and leave with the water. At four times the concentration there's more surfactant than the water can carry off, and the excess stays on the floor.
Surfactants pull moisture from the air, which is why a residue-loaded floor turns tacky in humid weather and grabs every particle of dust that lands on it. That tackiness prompts more cleaning, which adds more residue, and the loop closes.
Instead: measure it, and follow with a plain-water pass using a clean microfiber. The rinse step is the one almost nobody does and the one that decides whether residue accumulates.
5. Using kitchen degreaser on the kitchen floor
It seems logical. The floor in front of the range is greasy, and the bottle on the counter cuts grease. The problem is that general-purpose and kitchen degreasers are usually strongly alkaline, and alkaline chemistry is what dulls and eventually breaks down a wood floor finish.
It will take the grease off. It will also leave that patch permanently flatter in sheen than the boards around it, which is why some kitchens have a chalky zone exactly where somebody fought hardest.
Instead: pH-neutral for maintenance, and let a professional handle hardened buildup with chemistry matched to the finish.
6. Spot-treating with a melamine sponge
Magic erasers work on scuffs, and the reason matters. They're not a chemical, they're an extremely fine abrasive. Every scuff you erase takes a small amount of finish with it.
Once is fine. Going over the same spot a second and third time produces a dull halo where the scuff used to be, and using one across a whole traffic lane strips the sheen off that entire lane. That's how a floor ends up with a shiny room and a matte walkway.
Instead: try a dry microfiber first, since fresh rubber transfer often comes off with friction alone. If you do use the sponge, use it barely damp, with almost no pressure, once.
7. Putting an iron on a water ring
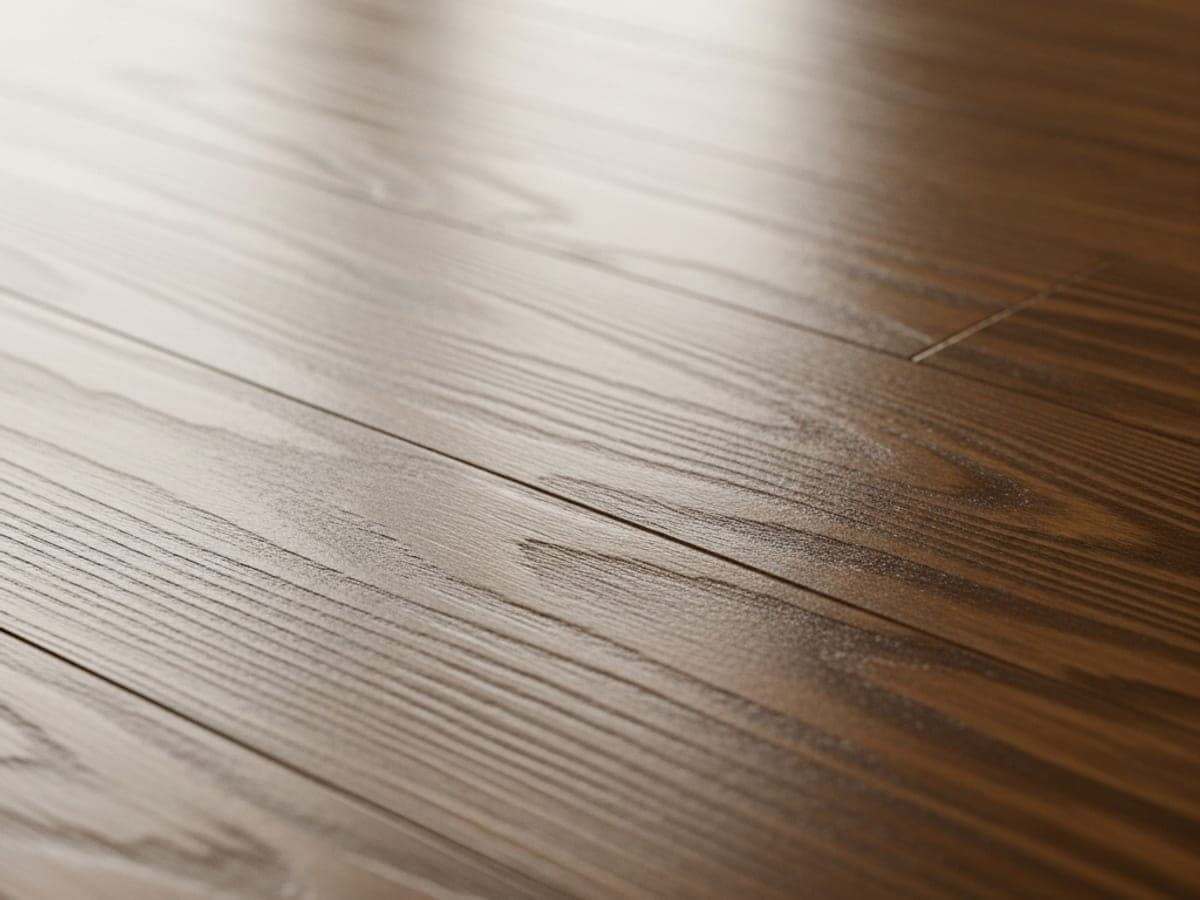
The iron-and-towel trick for white water marks does work sometimes, on shallow blush in an intact finish. It also scorches finishes, melts polyurethane, and leaves a permanent dull rectangle. The success stories get shared online and the ruined floors don't.
One thing to know: a white mark means moisture is trapped inside the finish and the wood underneath is fine, which is often recoverable by other means. A dark mark means moisture already reached the wood and reacted with the tannins in it, and that one is a refinishing job no matter what you try.
Instead: leave heat off your floors entirely, and have white blush assessed before anyone experiments on it.
The through-line
Six of these seven are someone adding energy, chemistry, or moisture to a problem, and the floor needing the opposite. Wood is the one surface in your house where gentler and drier is almost always more correct, and where the aggressive approach that works on tile causes damage you can't undo without sanding.
If you've been doing several of these for years, it's worth finding out where you actually stand before changing anything. The clean versus refinishpage has three tests that take about ten minutes, and they'll tell you whether you're looking at removable buildup or a finish that's genuinely spent.